
7 Steps to Visualize Your Kitchen Layout Before Remodeling
Last Updated: October 26, 2026
Quick Summary
To visualize kitchen layout, measure your space accurately in inches with fractions, create a floor plan drawn to scale, and test different appliance and cabinet configurations using free online tools or physical methods like graph paper and painter's tape. Testing your layout before construction catches problems early and confirms the workflow feels right for how you cook.
Measure walls at three points, check ceiling height at corners and center, and compare diagonal measurements to catch rooms that are out of square.
Use free planners like IKEA Kreativ, Lowe's, or SketchUp Free to enter measurements and drag appliances around without hiring a designer.
Test the work triangle distance between sink, stove, and refrigerator, aiming for 4 to 9 feet between each point.
Check door swings and clearances by walking through your layout mentally and physically marking footprints with painter's tape on the floor.
Create 2-3 layout versions and compare them using a table to evaluate work triangle distance, counter space, traffic flow, and overall comfort.
Table of Contents
Why Visualizing Your Kitchen Layout Matters Before You Remodel
Before you tear out cabinets or move a sink, you need to visualize kitchen layout to see what your kitchen will actually look like. Understanding the cost breakdown for kitchen renovation helps you set a realistic budget as you plan.
The homeowners who succeed test their kitchen layout ideas before construction starts, catching problems early and confirming the workflow feels right.
This guide walks you through exactly how to visualize kitchen layout: measure accurately, create a floor plan, test configurations, and make confident decisions before the first wall comes down.
How to Measure a Kitchen for Remodeling: The Accuracy Checklist
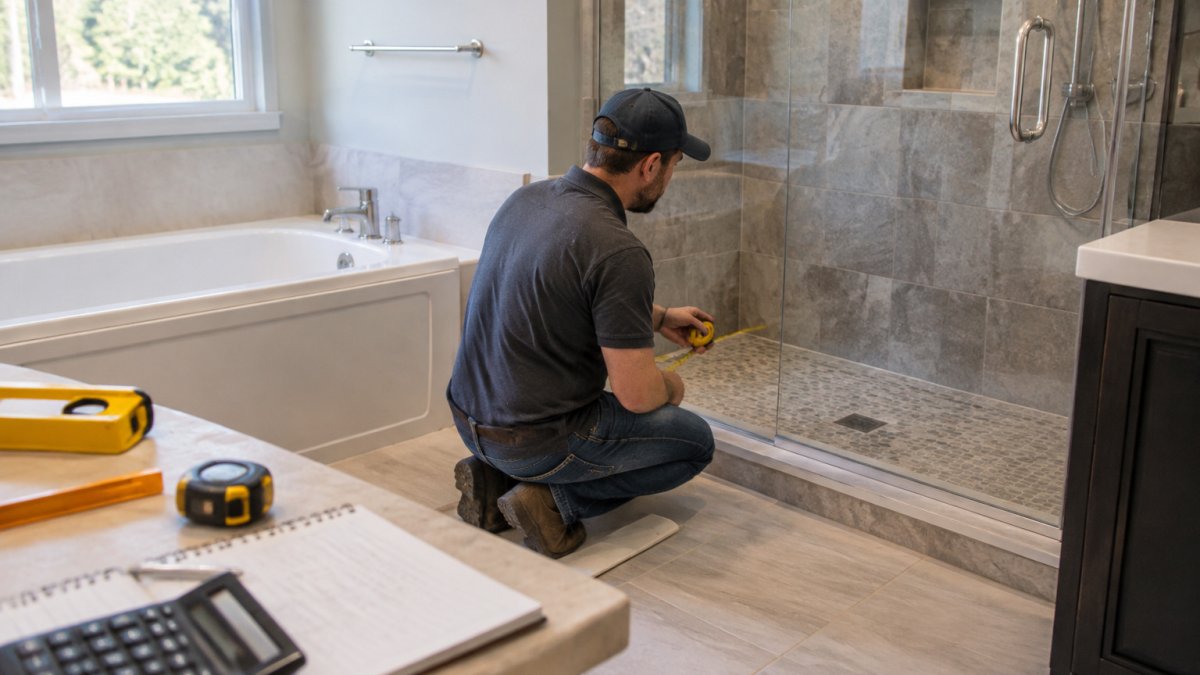
Accurate measurements are the foundation of any kitchen layout. Bad measurements lead to cabinets that don't fit and doors that won't open. Work through this checklist in order and record every number in inches, including fractions.
The Measurement Checklist
Room shell
Length and width of each wall, measured at the top, middle, and bottom. Record the longest measurement for each wall.
Ceiling height at each corner and at the center of the room. Ceilings are rarely level.
Diagonal measurements from corner to corner. Compare the two diagonals; a difference of more than about 1/2 inch means the room is out of square.
Openings and obstructions
Width and height of every doorway, including the trim.
Width, height, and sill height of every window, plus the distance from each window to the nearest corner.
Door swing direction and the floor space each door needs to open fully.
Utilities
Water supply lines and drain locations, with distance from the nearest wall and height from the floor.
Gas line location, if present.
Electrical outlets and switches, with height from the floor and distance from the nearest corner.
Existing appliances and fixtures
Width, depth, and height of the refrigerator, range, dishwasher, and sink.
Clearance needed for each appliance door and drawer to open.
Common Measurement Errors to Avoid
Measuring once. Measure twice, and have a second person confirm the numbers. A single misread tape is the most common cause of a cabinet that does not fit.
Rounding. Do not round 36.5 inches down to 36. That half-inch compounds across a run of cabinets and can push a refrigerator out of its opening.
Skipping diagonals. If the room is out of square, cabinets installed against one wall will gap at the other. The diagonal check catches this before you order anything.
Watch Out Record exact measurements in inches with fractions, not rounded feet. A plan built on rounded numbers will look correct on screen and fail at installation.
Turning Measurements into a Usable Digital Plan
Enter the shell dimensions first, then openings and obstructions, then utilities. Only then add appliances and cabinets. This order prevents designing around a cabinet that later has to move because a door swing or gas line was missed. Take photos of each wall with a tape measure visible to double-check numbers later.
Creating a Kitchen Floor Plan with Measurements
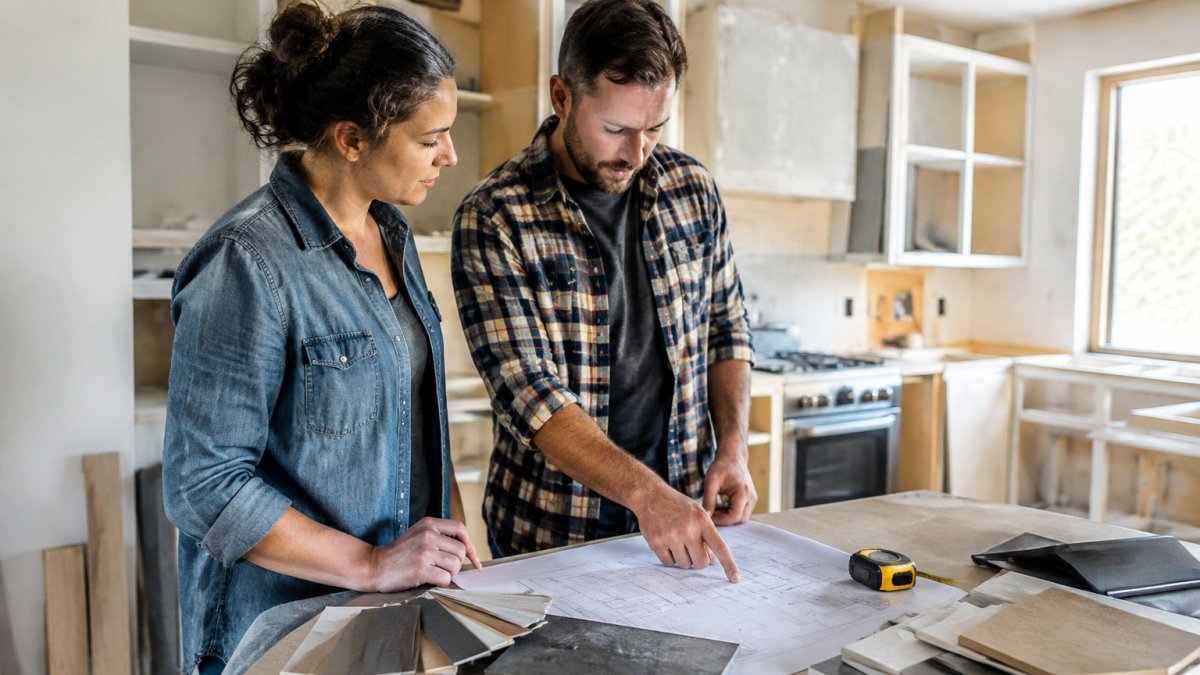
Once you have your measurements, create a floor plan: an overhead view of your kitchen drawn to scale, showing walls, doorways, windows, and existing appliances.
Home By Mon
You don't need expensive software.
Draw the perimeter first, mark doorways, windows, and permanent features, then add existing appliances in their current locations.
Now you have a baseline. This is your starting point for testing different layouts.
Understanding Kitchen Layout Examples and Work Zones
Kitchen layouts fall into a few main categories. Each one works best for different room shapes and cooking styles.
Galley, L-Shaped, U-Shaped, and Island Layouts
A galley kitchen has two parallel counters facing each other. It's efficient for small spaces. You move between the two sides in a straight line.
An L-shaped kitchen has cabinets and appliances on two perpendicular walls. It works well in corner spaces. You get more counter space than a galley.
A U-shaped kitchen wraps around three walls. It maximizes storage and counter space. It's ideal if you have the room. The challenge is making sure the opening is wide enough for traffic flow.
An island layout adds a freestanding counter in the middle of the room. Islands provide extra prep space and storage. They create a gathering spot.
Each layout has trade-offs. Your choice depends on room dimensions, cooking habits, and how many people use the kitchen at once.
Using Free Online Kitchen Planner Tools to Test Your Design
Free online tools let you test different kitchen layouts without hiring a designer. These tools work with your measurements and let you drag appliances around to see what works. The strongest approach is to treat software as one step in a sequence, not the whole answer.
A Beginner-Friendly Visualization Workflow
A repeatable sequence produces a usable result faster:
Lock your measurements. Enter the wall lengths, door and window openings, ceiling height, and utility locations from your accuracy checklist. Do not start dragging cabinets until the shell is correct.
Place fixed elements first. Put doors, windows, and any load-bearing columns or vents in the plan. These cannot move, so they define what is possible.
Place the three work-zone anchors. Drop in the sink, stove, and refrigerator in their current or preferred locations. Everything else is arranged around them.
Add cabinets and counters. Fill the remaining wall space with base and wall cabinets, then check that every cabinet door and drawer can open without hitting an appliance or wall.
Switch to a 3D or overhead view. Rotate the model and look at it from standing height and from above. The overhead view reveals circulation problems; the 3D view reveals sightlines and whether the room feels cramped.
Save and duplicate the file. Create two or three versions so you can compare them side by side later.
Free and Low-Cost Tools Worth Trying
Several well-known free planners are built for homeowners and accept room dimensions directly:
IKEA Kreativ and the IKEA kitchen planner let you enter room dimensions, drag cabinet and appliance styles, and view the result in 3D. The catalog is limited to IKEA products, which is fine for testing proportions and workflow.
Lowe's and The Home Depot kitchen designers offer free online planners with 2D and 3D views and a catalog of stocked cabinets and appliances. They are useful for checking standard cabinet sizes against your wall lengths.
SketchUp Free is a general-purpose 3D modeler that runs in a browser. It has a steeper learning curve but no product catalog, so you can model any layout without brand constraints.
Low-Cost Physical Visualization Methods
Physical methods are fast, cheap, and often more intuitive for judging scale:
Graph paper and a pencil. At 1/4 inch equals 1 foot, a 12-foot wall is 3 inches on paper. Cut paper templates for the sink, stove, refrigerator, and standard cabinet widths (typically 12, 18, 24, 30, and 36 inches) and slide them around the drawing.
Painter's tape on the floor. Mark the footprint of counters, an island, and appliance doors directly on the floor. Stand inside the taped outline and open a real door to feel the clearance.
Cardboard templates. Cut full-size footprints for the refrigerator and island, set them on the floor, and walk the aisles. This catches problems that a scaled drawing hides, such as a refrigerator door that blocks a walkway.
Pro Tip Test the physical mock-up at the same time of day you normally cook. Natural light and traffic patterns change how a layout feels, and tape on the floor makes those problems obvious.
What the Tools Cannot Tell You
A planner will show you that a cabinet fits, but not whether the dishwasher door blocks the walkway, the refrigerator door swings into the range, or two people can pass at the sink. Those checks belong in the clearance and workflow steps, a visualization is a starting point, not a construction drawing.
Applying the Work Triangle and Testing Workflow
The work triangle is the imaginary line connecting your sink, stove, and refrigerator, the three main work zones that guide how efficiently you move while cooking.

Ideally, the distance between each point should be between 4 and 9 feet. If your triangle is too large, you waste steps. If it's too small, appliances crowd each other.
Test your workflow: imagine starting at the refrigerator, walking to the sink to rinse vegetables, then moving to the stove.
Repeat the walk-through for different tasks, meal prep, cleanup, entertaining. A layout that works for cooking might not work for cleanup.
Checking Clearances, Door Swings, and Accessibility
Clearances matter: you need space to open cabinet doors, pull out drawers, and move safely.
Check door swings: does the refrigerator door open fully? Can you pull out the oven rack without hitting the island?
If you're planning for aging in place or accessibility, clearances become even more important. Wider walkways, lower cabinets, and pull-down shelves make a kitchen easier to use as you age. Accessibility modifications for aging in place can be incorporated into your layout now, before construction begins.
Walk through your layout: can you move from the refrigerator to the sink without stepping sideways? Can you stand at the stove while someone else works at the counter?
Comparing Multiple Layout Versions and Making Your Final Choice
Don't settle on your first layout idea. Create 2-3 versions. Test each one.
Sketch alternatives with your floor plan or online tool, keeping measurements consistent and changing only appliance and cabinet positions.
Compare each version:
Which layout has the shortest work triangle?
Which one gives you the most counter space where you need it?
Which one handles traffic flow best?
Make a simple table to compare your options:
Layout Option | Work Triangle Distance | Counter Space | Traffic Flow | Overall Feel |
Option A | 18 feet | Good | Tight | Cramped |
Option B | 16 feet | Better | Open | Comfortable |
Option C | 15 feet | Best | Very Open | Spacious |
This comparison shows which layout works best for your space and cooking style.
Once you've chosen your layout, you're ready to move forward. Learn about our kitchen renovation design and installation services to transform your plan into a finished kitchen. Get a kitchen renovation estimate from HELP!
Frequently Asked Questions
How do I visualize a kitchen layout before remodeling?
Start by measuring your kitchen accurately (width, length, height, window and door locations). Sketch a 2D overhead view on graph paper or use a free online kitchen planner tool like Floorplanner or Ikea's kitchen planner. Input your measurements, position appliances, add storage, and test the work triangle. Many homeowners also create a simple cardboard scale model or use masking tape on the floor to outline appliance positions and walkways in real space. This hands-on approach helps you feel how the layout actually functions before committing to design changes.
What measurements do I need to plan a kitchen layout?
Measure the length and width of your kitchen, ceiling height, and the exact locations of windows, doors, electrical outlets, and plumbing lines. Document the swing direction of doors and note any alcoves, columns, or architectural features. Measure from corner to corner diagonally to verify square footage. Record appliance sizes (refrigerator depth and width, cooktop dimensions, sink cabinet width) and existing cabinet heights. Take photos from multiple angles and note the position of gas lines, water shut-offs, and ventilation ducts. Accurate measurements are the foundation of a functional kitchen floor plan with measurements that contractors can trust.
Can I design a kitchen layout online for free?
Yes. Free online kitchen planner tools like Floorplanner, Ikea's kitchen planner, and Planner 5D let you input room dimensions, drag appliances and cabinets into position, and view your layout in 2D or 3D. These tools work best when you have accurate measurements and know your appliance dimensions. Some offer basic cabinetry libraries; others let you import custom dimensions. For more advanced features (detailed material selections, lighting design, professional renderings), you may need paid tools or professional design software. Start with a free tool to test layout ideas before investing in premium options or hiring a designer.
How can I tell if a kitchen layout will work?
Test the work triangle: measure the distance between your sink, cooktop, and refrigerator. The total should be 15 to 26 feet, with no side exceeding 9 feet. Walk through your overhead layout or taped-out floor plan to check for tight walkways, blocked appliance doors, and cramped counter space. Verify clearances: appliance doors need 36 to 42 inches of swing space, and walkways should be at least 36 inches wide (42 inches is ideal for two people). Check traffic flow: people should not cross the work zone to reach the exit or other rooms. If you feel confined or appliance doors hit cabinets in your visualization, adjust the layout before construction starts.
The kitchen you're imagining is within reach. A clear layout, accurate measurements, and thoughtful planning eliminate guesswork. You'll move into a kitchen that works the way you cook, not the way someone guessed you might. That confidence, knowing your remodeled kitchen will function beautifully, is worth the time spent visualizing now.
Book Online
Add helpremodelingllc.com as a preferred source on Google →

Comments